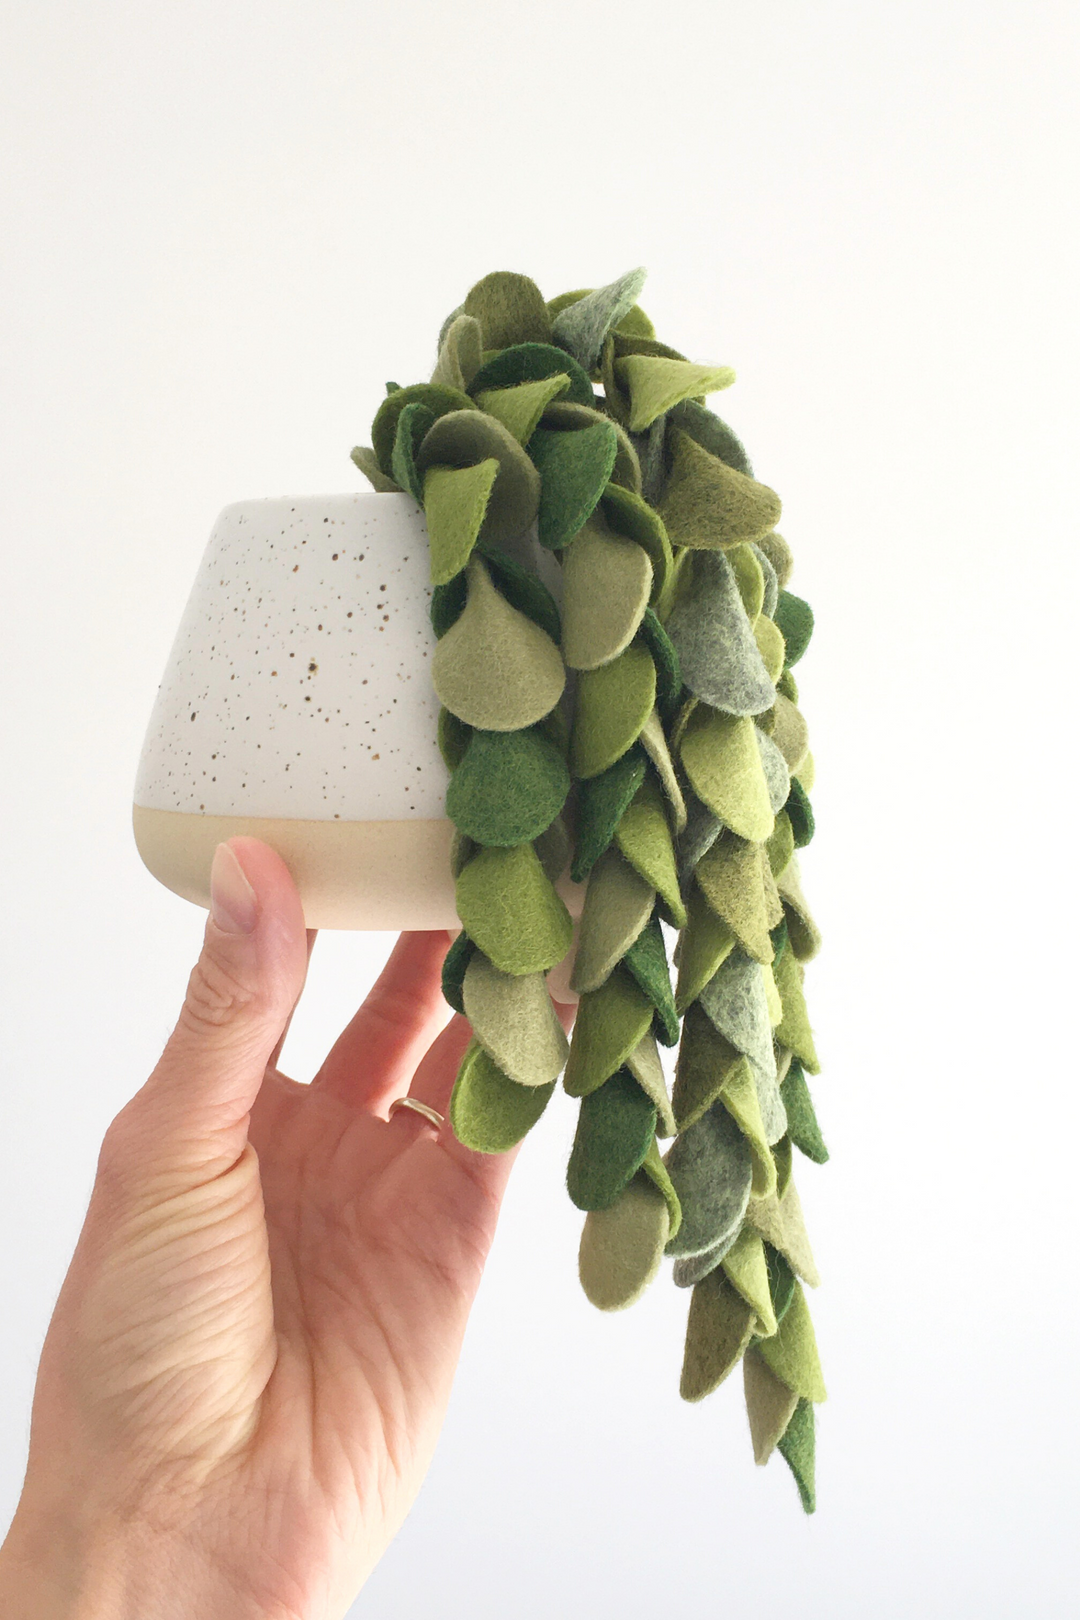
Cascading Houseplant

I LOVE houseplants, but I never seem to have much luck with keeping them alive! Fortunately, that's not a problem with this felt version - no watering or maintenance required!
CASCADING FELT HOUSEPLANT
TOOLS AND MATERIALS:
- Felt sheets or scraps in shades of green (I recommend using at least three different shades if you can)
- Paper/freezer paper for printing the templates
- Template sheet (PDF)
- Scissors
- Glue gun
- Lightweight string or twine (I used 2mm thick cotton twine) - embroidery floss would also work
- Tape (preferably florist tape but you could also use paper tape or sticky tape) - you'll only need a short piece
- Wire e.g. florist wire (optional)
- Wire cutters (optional)
- Pot/vase
- Dry floral foam (optional - this will go inside your pot to hold the plant in place, but you could also use stones or pebbles to fill the pot and weigh down the base of the plant)
Start by preparing your plant pot: each 'trail' on your plant will be made up of a length of string covered in leaves. These will be assembled into a single thick stem and pushed inside a plant pot. I used dry floral foam to hold the stem in place, but you could also fill your pot with stones to weigh the stem down if you prefer. If you are using foam: once you have selected the pot you want to use, cut a suitably-sized block of foam to fit securely inside, with the foam sitting just below the rim of the pot. Warning: dry floral foam can be quite ‘grainy’ when you cut it and the grains will get everywhere! Be sure to cut it on a surface that you can easily wipe down afterwards (I prefer to cut it outside).


Now cut a piece of green felt the size and shape of the top of your pot. Once you’ve pushed your block of foam inside the pot, place the piece of felt on top to hide the foam. If your pot has a rim, you can simply tuck the edges of your felt in, or you may want to secure it to the top of the foam with a few dots of glue.

Make a small hole in the centre of your felt and foam with a needle or the point of your scissors. This is where the stem of your plant will sit. Use an old pen or pencil to widen the hole: you may want to wait until you’ve made your leaves and stem to see how wide this needs to be.

Cut several pieces of string/twine to different lengths, allowing around 10cm extra on each length to sit inside the pot i.e. this bit won’t be covered in leaves. I used six pieces of string, varying from around 15cm to 25cm (plus the extra 10cm). The length is up to you: decide where you might want to place your plant and how much you want the strings to trail. Remember, you can always trim the strings to be shorter, or add more leaves, so be generous to begin with.
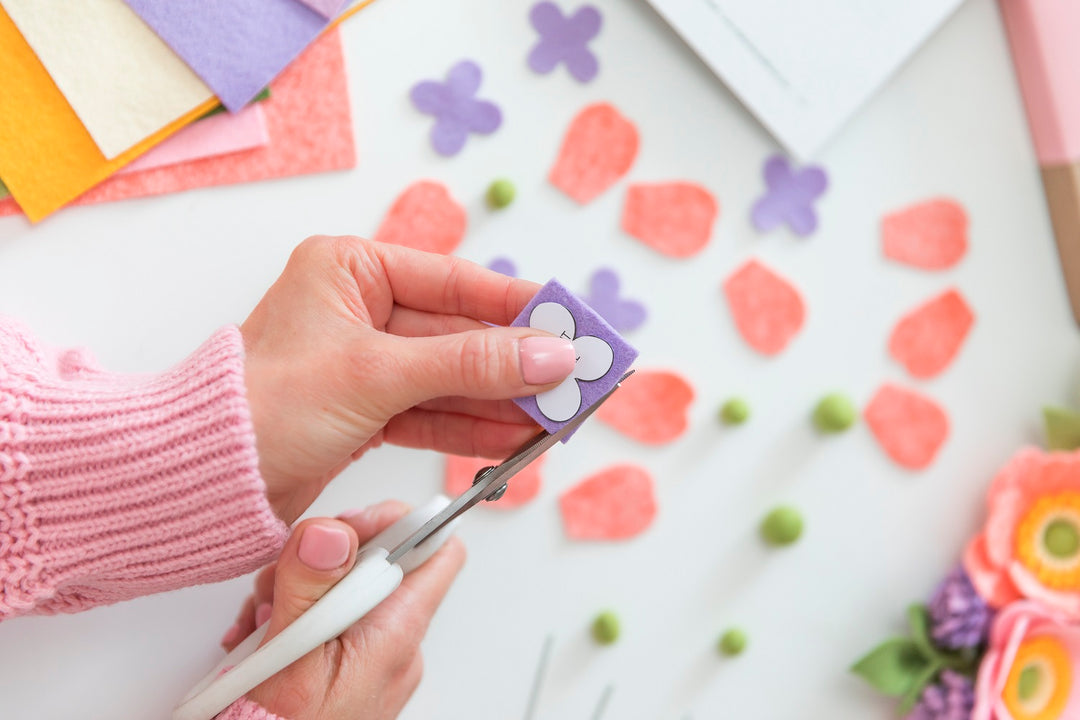
Next, print and cut out the template pieces and then cut your felt shapes. The template sheet is full size when printed on A4 paper. If you're using freezer paper, remember to print onto the non-waxy side, then roughly cut around each shape before ironing onto your selected scraps of felt to cut out your shapes.
There are no rules on which colours to use for this project (you don’t even have to stick to green!), but I think it works best when you use at least THREE different colours/shades. This means you’ll get a nice alternating pattern as you attach the leaves to the string. I used SIX different shades of green for my plant, dividing them into two sets of three to make alternating strings of leaves.

The number of leaves you’ll need will depend on how long you’ve decided to make each string on your plant; as a general guide, allow around 6 leaves for each 5cm of string. For my plant, I cut approximately 18-20 leaves from EACH shade of green… that’s quite a lot of leaves to cut, so find a comfortable place to work and enjoy the repetitive mindfulness of this simple task!
Once you’ve cut out all your leaves, arrange them into groups so you know which order you’ll be attaching them to your strings in. Now take your first leaf and apply glue to the bottom half. Place the end of the string in the centre (so the top edge of the leaf points away from the rest of the string) and fold the leaf in half around it, squeezing at the base - watch out for any oozing glue!

Repeat with a second leaf in an alternating shade, this time gluing on the opposite side and little lower down than the first. Repeat again with another leaf (again, in an alternating shade if you’ve chosen to use three different colours).

Repeat with each of the leaves, gluing on alternating sides until you have reached the desired length for your string (remember to leave a ‘tail’ without leaves to sit inside your plant pot).

Continue making your strings of leaves in this way until you have as many as you want. Check as you go along that you are happy with the lengths - you can always add more leaves to the strings or trim the tails if you want to make them shorter.

Once you have all your strings of leaves made, group them together and check you are happy with the length. You may want to place some of the shorter strings on top of the longer ones to give more of a waterfall effect to your plant.
When you’re happy with the arrangement, take another small piece of string and tie the tails of the strings together at the base of the leaves. Now take a small piece of wire and bend it into a U/hairpin shape, making sure it isn’t longer than the height of your pot.

Hook the wire through the knot you’ve just made and trim the strings so they are just shorter than the wire. The wire will help to hold the stem rigid. Now wrap the strings and wire inside florist tape, starting as close to the base of the leaves as you can and stretching as you go to make the tape stick to itself. Trim when you reach the end.


You can now push the stem inside the hole you’ve prepared inside your pot; if you find the hole is too big, you can widen the stem by wrapping more tape around it. If you’re not using florist foam, use stones or similar to weigh the stem inside your pot.

Arrange the strings of leaves as you wish and - ta da! - enjoy your beautiful creation!
If you've enjoyed this project, don't forget to share your makes with me on Instagram or Facebook using the hashtag #thehandmadefloristmakes and tag me @thehandmadeflorist.