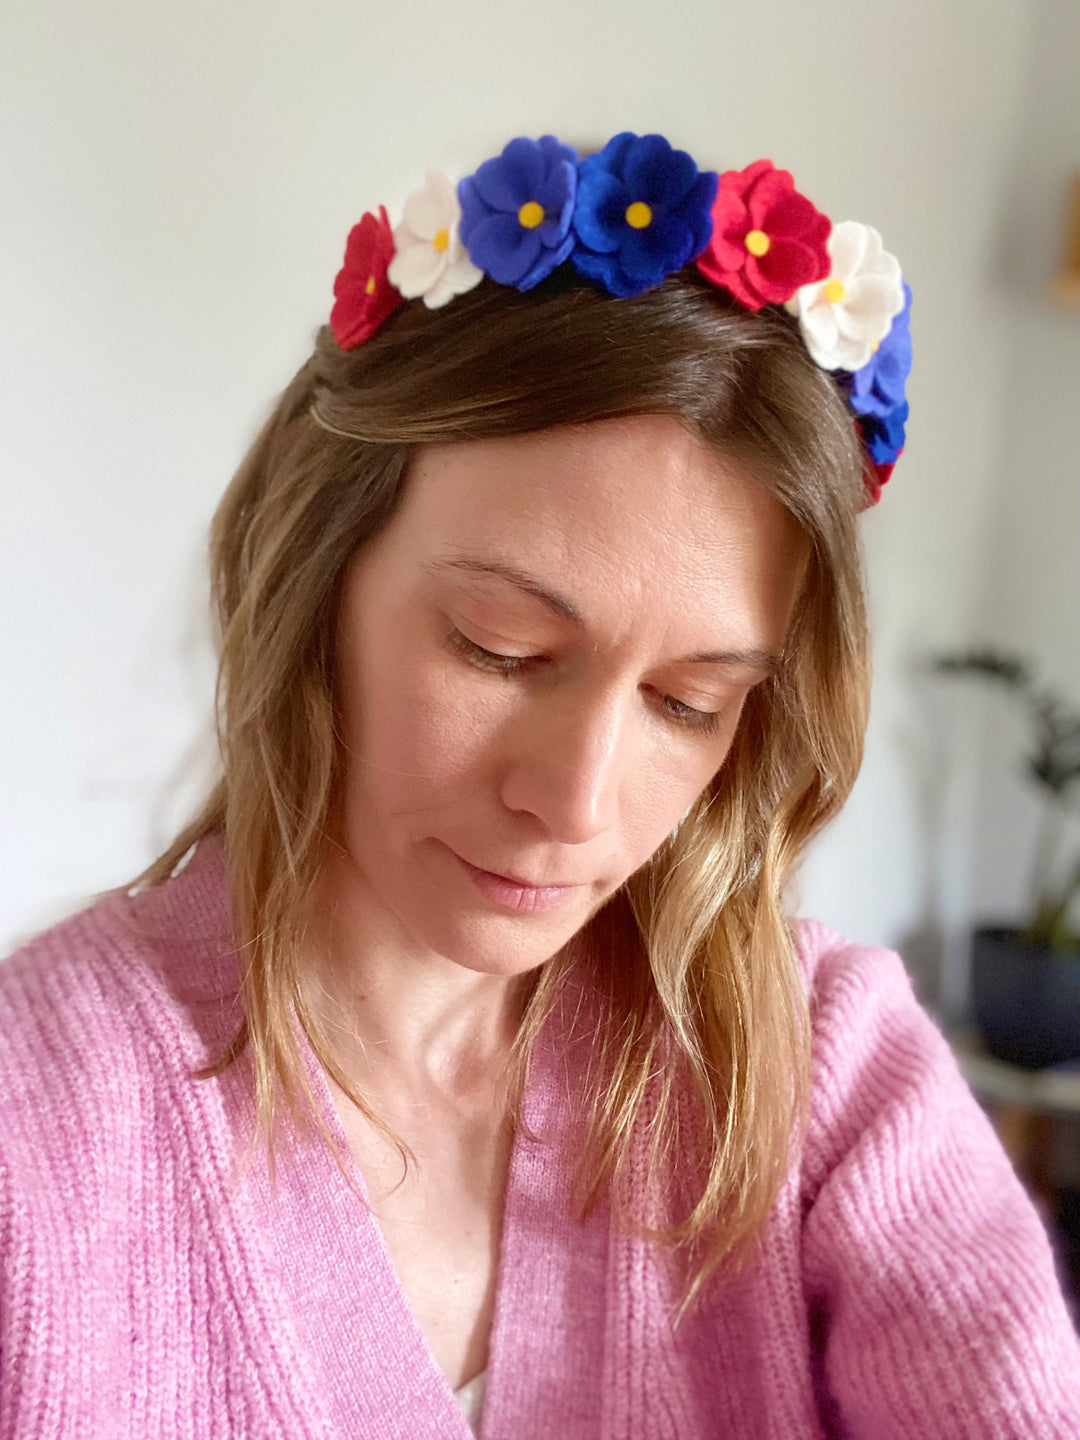
Celebration Flower Crown

Whether you're heading to a coronation celebration, summer garden party or festival, a felt flower crown is the perfect way to show up in style and show off your flower making skills!
This dainty headband can be made in any colours and is a quick and simple make for when you need something unique and coordinated to complete your outfit. And with my free SVG cutting file download (see below), you can even speed up the cutting time by using your digital cutting machine e.g. Cricut Maker, to cut your petals.
Find my Celebration Flower Crown felt pack plus FREE headband (while stocks last), here.
CELEBRATION FLOWER CROWN
TOOLS AND MATERIALS:
- Paper/freezer for printing the templates (unless you're using a digital cutting machine)
- A piece of scrap paper for making the centre dots
- Template sheet (PDF) - see below for SVG files
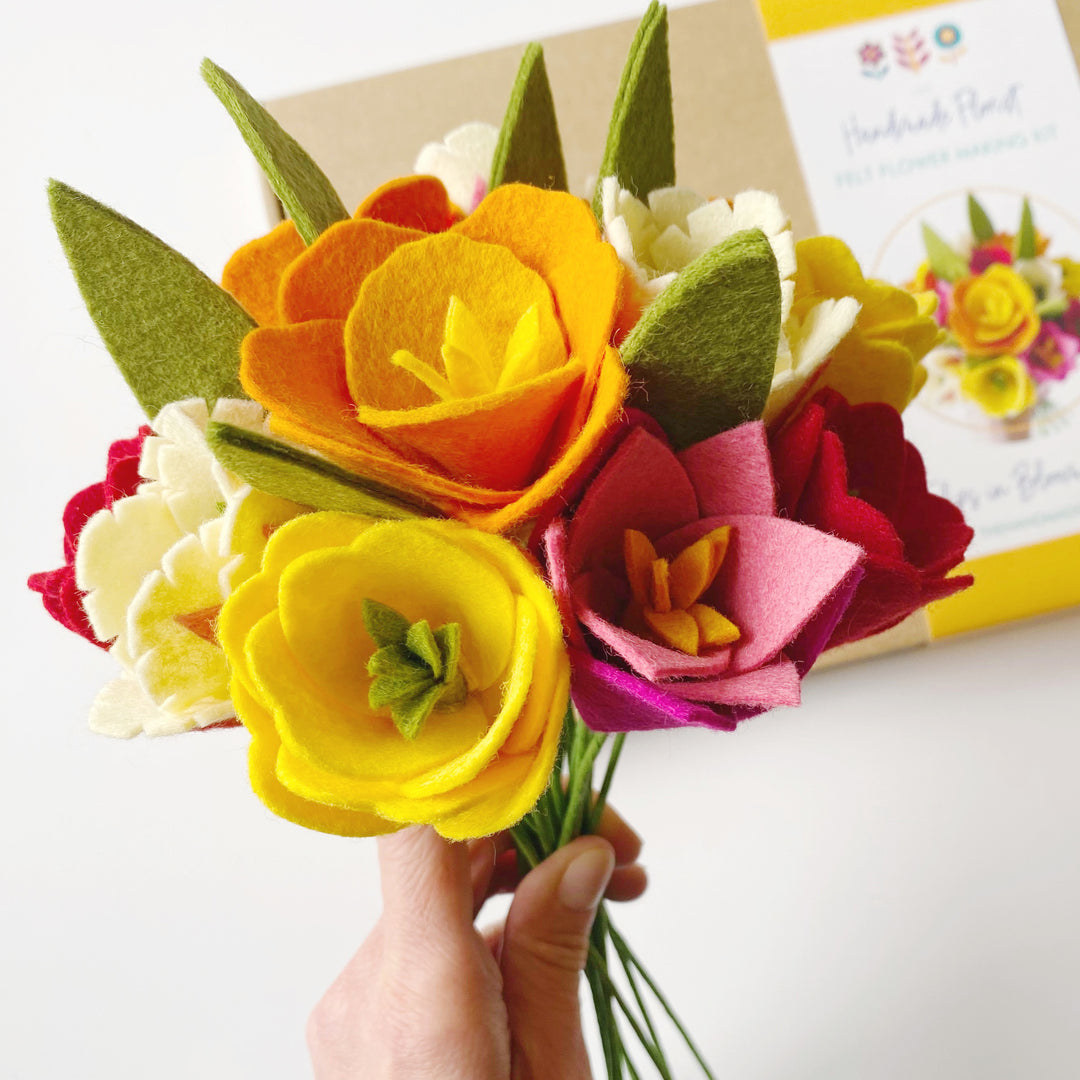
- Felt sheets in your chosen colours: I used Bright Red, White, Royal Blue, Violet Blue and Gold - get all the colours plus a FREE headband (while stocks last) here.
- Scissors
- Glue gun
- Tacky/PVA glue (optional, but useful if you don't have a glue gun with a fine tip nozzle)
- Hole punch (optional)
- Stretchy headband
- Bowl (optional, but I find this helps to get the right shape for the headband)
SVG files
Making the centre dots

> VIDEO: HOW TO CUT BLOSSOM DOTS
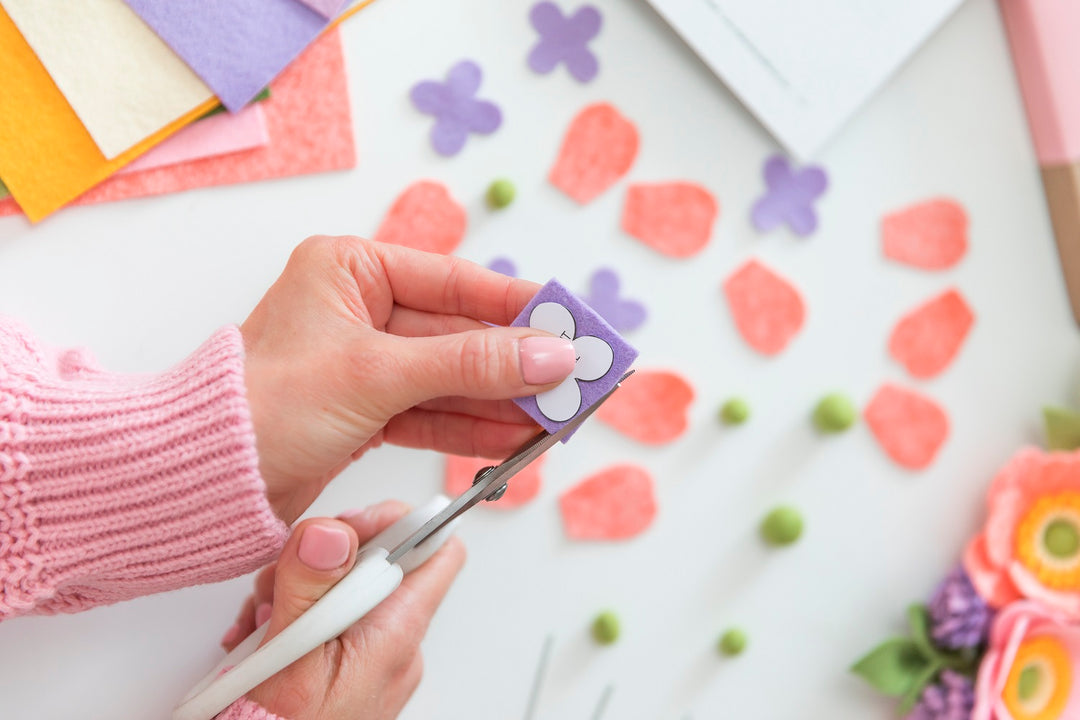
Cutting your dots by hand: If you don’t have a hole punch or yours won’t cut through the felt using the method above, you can cut the dots by hand instead. I recommend doing this freehand rather than using a template, as the dots are so small. Aim for a circle around 5mm across: start with a small square of felt and turn it in your hands as you use scissors to cut a smooth circle.
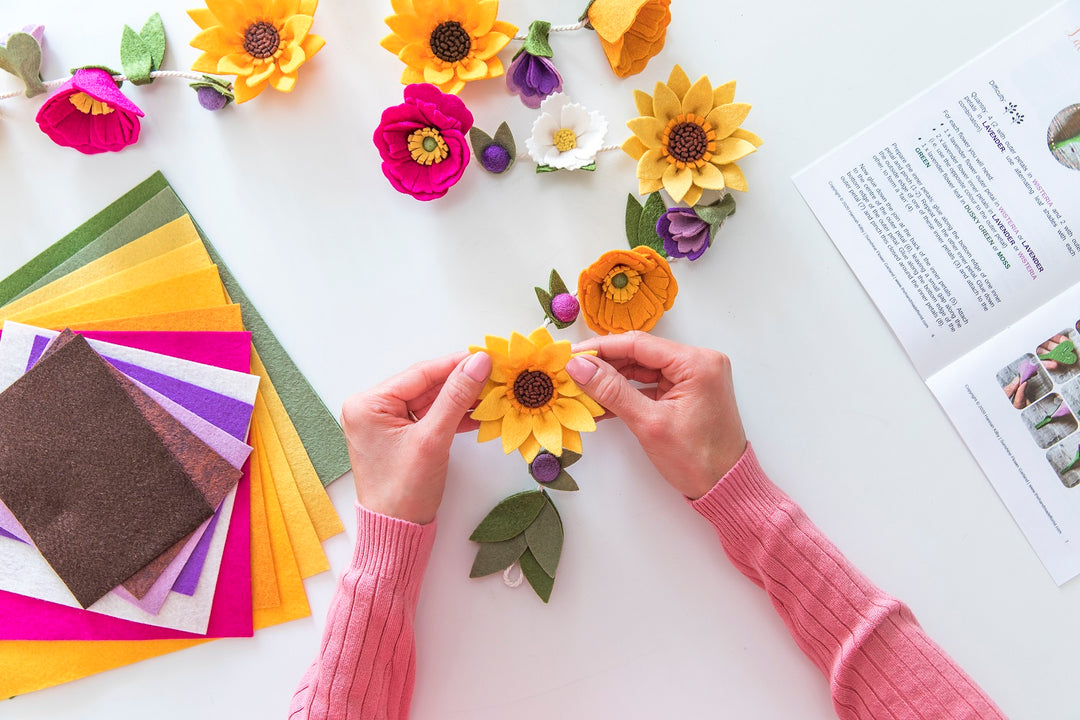
Assembling the flowers
For each flower you will need: six petals in your chosen colour plus one centre dot.
Using your glue gun, place a small dot of glue at the base of one of the petals and pinch the petal closed, holding it in place until set. Repeat this with two more petals. Tip: if any glue oozes out of the edge of the petal, leave to dry and trim the glue away with scissors.

Take one of the pinched petals and squeeze a line of glue down one edge. Attach to another of the pinched petals, joining the edges together. Hold in place until set. Take the third petal and glue in a ‘Y’ shape down the front folded edge and slightly up the petal edges. Join this petal to the flower so it meets the other two petals. Make sure it is in the correct position before holding until set.

To attach the final three petals, glue along the bottom edge of each petal and place behind two of the petals from the first layer (there’s no need to pinch these ones). Tip: make sure you’re lining up the petal from the front of the flower and push gently at the base.

Finally, attach the dot to the centre of the flower. If you don’t have a fine tip nozzle on your glue gun or you’re not confident making a small dot with your glue gun, you can apply a dot of tacky/PVA glue instead (a small paintbrush or cocktail stick is useful for dabbing the glue on). Otherwise, use your glue gun to make a small dot at the centre of your flower (tip: hover the nozzle over to melt any wispy strings). Gently place the dot at the centre of the flower.
Repeat these steps to make the rest of your flowers.
Assembling the headband
Tip: I like to use a bowl to assemble my headbands, as it helps to form the shape. Any similar size curved object will do. If you're assembling the headband on a flat surface instead, be sure that you attach the flowers close enough together so you don't have any gaps when you come to wear the headband.
Turn the bowl over so the base is facing you, then slide the headband around the bowl. Cut a length of felt in any colour, approx 33mm wide and 210mm long (note that the length will depend on how many flowers you want to include and what size you are making the headband).
Slide the strip of felt under the headband and, working in sections, glue along the long edge and fold the other edge over to meet it. Be careful not to get any glue on the headband as you want it to be able to move freely within the felt strip.

Attach your flowers along the headband strip, in any order you like. Leave the glue to cool and set completely before wearing!